Using clear adhesive tape, a pencil, and plain paper, record your own fingerprints or those of another person.
Using Lifting Tape
To take fingerprints using lifting tape, you need a sheet of white paper, a pencil, and clear adhesive tape (three-quarter-inch tape works better than half-inch tape). Follow these steps.
Step 1
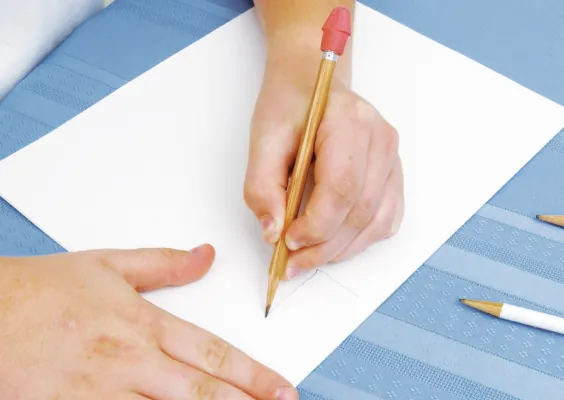
Draw a two-by-one-inch rectangle near one corner of the paper.
Step 2
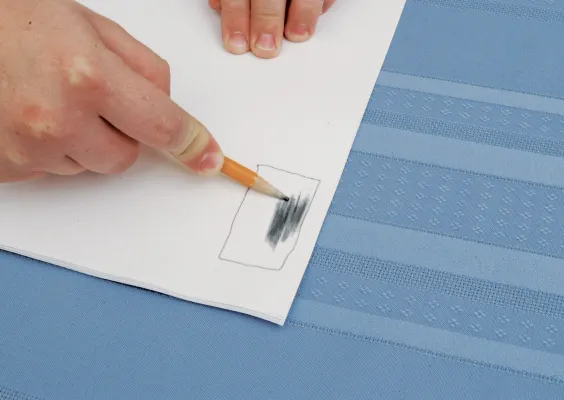
Using the long side of the pencil lead, blacken the rectangle as dark as you can make it.
Step 3
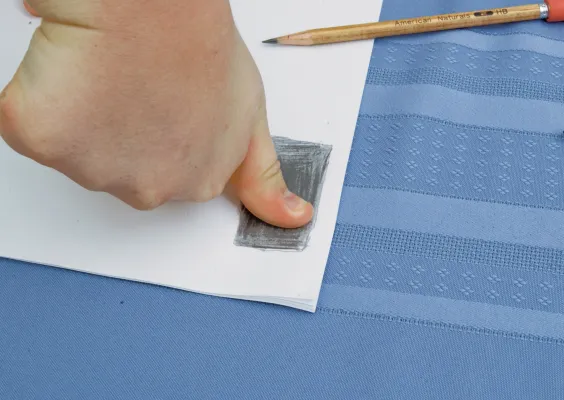
Thoroughly rub your thumb or the bulb of a finger on the black rectangle.
Step 4
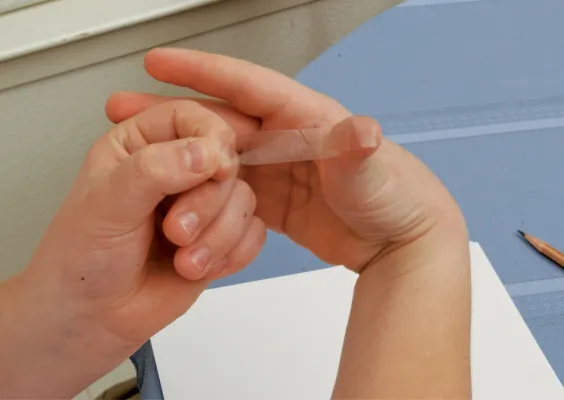
Apply a piece of adhesive tape to the coated (gray) area of your thumb or finger, working smoothly from the tip down or from the first joint up.
Step 5
Touching as little as possible of one corner, peel the tape off. Carefully stick it on your paper. Alongside the fingerprint, write which hand and finger it came from.
Repeat steps 1 through 5 until you have taken a clear, complete set of prints from one hand.
Using Lifting Tape: Latent Prints
Did You Know:
Some fingerprinting systems use a pre-inked pad instead of a roller and inking plate. In another system, the ink is applied from a sheet of film that is coated with black printer’s ink.
An inkless system uses a chemical to make fingerprint impressions.
An advanced method uses a computerized live-scan device for recording fingerprints.
Now that you have learned how to make your own fingerprints,
let’s identify the three basic patterns of fingerprints.