Scouting America

First Aid
FirstAid
First Aid
Merit Badge
Scouting America Merit Badge Hub
Eagle Scout insignia Eagle Required

First Aid

Merit Badge Overview

First aid—caring for injured or ill persons until they can receive professional medical care—is an important skill for every Scout. With some knowledge of first aid, a Scout can provide immediate care and help to someone who is hurt or who becomes ill. First aid can help prevent infection and serious loss of blood. It could even save a limb or a life.
First-Aid_MB-overview

First Aid

Merit Badge Requirements

The previous version of the Merit Badge requirements can be found in Scoutbook

The requirements will be fed dynamically using the scout book integration
2. Preparing for First Aid Emergencies. Do the following:
  • (a) Obtain a copy of the Scout Annual Health and Medical Record and discuss the importance of the form including information on immunizations, allergies, medications, health history, and medical examinations to providing first aid at Scouting events.
    Resource: Scout Health Forms (website)
  • (b) Using checklists provided in the First Aid merit badge pamphlet or ones approved by your counselor, do the following:

5. Breathing Emergencies. Describe the symptoms and signs of, show first aid for, and explain prevention of these conditions affecting breathing:

6. Loss of Consciousness. Describe the symptoms and signs of, show first aid for, and explain prevention of these conditions causing loss of consciousness:

7. Heart Attack. Do the following:

8. Muscle and Bone Injuries. Do the following:

11. Heat- and Cold-Related Conditions. Describe the symptoms and signs of, show first aid for, and explain prevention of these conditions associated with exertion and/or heat or cold exposure:

13. Miscellaneous Conditions. Describe the symptoms and signs of, show first aid for, and explain prevention of the following conditions:

14. With guidance from your counselor, develop a plan to teach a first-aid skill or topic using the EDGE method. Discuss your skill, topic, and plan with your counselor, and then teach your skill or topic to your family or to one or more Scouts.
Resource: The Teaching EDGE: The Best Way To Teach Someone a New Skill (website)
15. Do ONE of the following:

1. Handling a First Aid Emergency. Do the following:
10. Moving a Patient. Do the following:
12. Mental Health Conditions. Describe the following:
3. Wounds with No External Bleeding. Describe the symptoms and signs of, show first aid for, and explain prevention of these wounds:
Resources: The Science of Skin (video)
How a Wound Heals Itself (video)
How Wounds Heal (video)
4. Bleeding Wounds. Describe the symptoms and signs of, show first aid for, and explain prevention of these wounds:
9. Head and Spine Injuries. Do the following:

NOTE: The official merit badge pamphlets are now free and downloadable HERE or can be purchased at the Scout Shop.
fondo blanco liso
first-aid_MB_pamphlet
divider-graphic

Get the First Aid Merit Badge Pamphlet

Merit Badge Pamphlets are now free and publicly available. Note: Always check stg.scouting.org/skills/merit-badges/all/ for the latest requirements.

First Aid

Merit Badge Products

As the exclusive retailer of Scouting America, 35% of every Scout Shop purchase supports the future of Scouting.

Discover more about

"First Aid"

logo-scoutlife-2
You’re on an outing with your troop when a buddy slips off the trail and messes up his leg. Miles and at least a day’s hike from the nearest trailhead, what are you gonna do? Hopefully, you have the first-aid training and supplies needed to care for your friend. If not, earn your First Aid merit badge ASAP — and read on for advice on assembling a useful first-aid kit filled with the right contents. THE LOW DOWN ON FIRST-AID KITS Build It or Buy It? The biggest advantage to building your own first-aid kit is knowing the contents of your kit and where it is inside. The hard part is buying everything you need in small enough sizes to keep your first-aid kit light and compact. But buying a prepackaged first-aid kit often costs less, requires no set up time and usually comes in a specially designed storage bag with handy pockets and compartments. If you buy a commercially made first-aid kit, just make sure you take everything out of it and then put it back in so you’re familiar with all of the contents and components. Understand what each item is used for so you’ll be prepared, and don’t hesitate to add additional items. Price You’ll often save money by buying a prepackaged first-aid kit. A decent first-aid kit can cost as little as $10 to $25. Customizing a First-Aid Kit The type of first-aid kit and supplies you bring will be dependent on your group size, trip duration and remoteness. For remote locations you’ll need to rely on your group’s resources, and your first-aid kit should be stocked with supplies to treat a much wider range of injuries or illnesses than for a day hike in the woods. Make a list of the types of activities you do most often and the sort of places you most often go and how long you’ll be gone, then build or buy a first-aid kit to fit. firstaid-backpack What Every First-Aid kit Should Include Don’t forget to pack a first-aid manual. Nothing takes the place of first-aid training, but it’s important to have a good manual that you can turn to in an emergency. Beyond that, you’ll want to include supplies to treat the most common outdoor injuries — stuff like moleskin for blisters, tweezers for splinters, bandages, antibiotic ointment and antiseptic towelettes for cuts and scrapes, ibuprofen for aches and pain, and antihistamines for allergic reactions. What You Should Leave Out Skip the instant ice packs. They’re heavy and only provide about 15 minutes of cold therapy. To properly treat a sprained ankle, you need to ice the injured area every 30 minutes. Use ice from a cooler, snow or cold water from a river or lake if you need to improvise. And forget the hydrogen peroxide — it’s so strong it kills the germs and living tissue, so it’ll just take longer for your wound to heal. The only solution you need to clean wounds is clean drinking water or a dilute povidone-iodine solution if the wound is particularly dirty. Keep Your First-Aid Kit Current Make a contents list so you can keep an inventory of items in your first-aid kit. Get into the habit of checking your first-aid kit before every outing. If any medicines and ointments have expired or have been used up, replace them. And make sure nothing is wet or spoiled.
logo-scoutlife-2
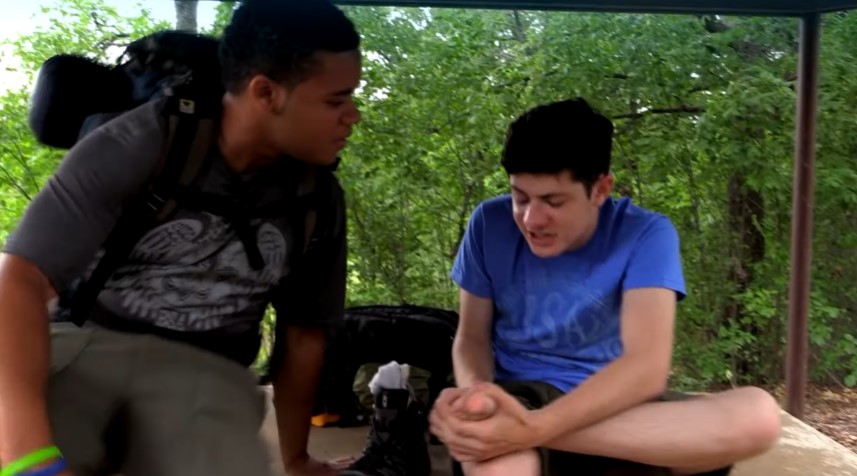
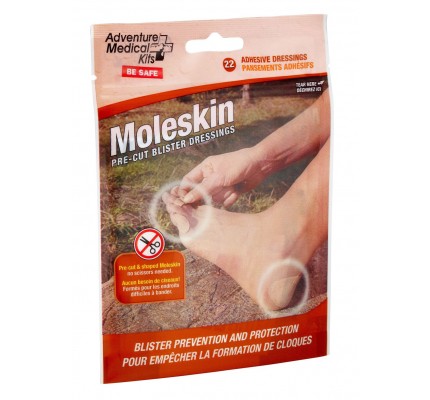
There’s nothing better than hiking or backpacking in the great outdoors, but a blister can quickly ruin your day. Here are tips for how to avoid getting blisters and how to treat them. Some of the most common causes of blisters: Walking around with wet feet. Wearing boots that are too big and rub against your skin. Wearing brand new boots on the trail. To prevent getting blisters from wet feet, always pack an extra pair of socks. You can also pack some foot powder to keep your feet dry. Before buying new hiking boots, make sure they fit right and snug while wearing a good pair of socks so they won’t rub your feet raw on the trail. Then, make sure you break them in by wearing them a while before going on a hike. On every hike, you or someone on the trip just bring the following blister prevention and treatment items: Alcohol wipes for disinfecting a popped blister. Safety pin and matches if it becomes necessary to pop a blister. The match is used to disinfect the needle. Foot powder for keeping feet dry. Petroleum jelly, for reducing friction around tender skin. Duct tape for covering tender skin or holding bandages in place. Pocketknife with scissors Moleskin pads Most blisters start as a “hot spot,” a red tender spot on the skin. If you treat a hot spot early, you can prevent it from forming a blister. Just use your scissors to cut a hole the size of the hot spot with a piece of moleskin, and use it to encircle the blister. Duct tape can also be used to cover the tender area. It’s a good idea to apply petroleum jelly or another ointment to the hot spot to help reduce friction. Once a blister forms, you may want to call it a day. But, if you have to keep moving and the blister is too painful, you might need to drain the fluid. Just make sure to sterilize the needle and keep the blister clean.
logo-scouting
Descending New Hampshire’s Mount Monadnock in October 2015, a hiker named Linda slipped and twisted her ankle. She might have been in serious trouble, but instead she was in luck. Not long after her accident, members of Troop 9 from Weymouth, Mass., found her, splinted her leg and carted her down the mountain — a four-hour trip — using a fireman’s carry. “They started pulling out their kits, and that’s when I realized they were Boy Scouts,” she told Fox 25 in Boston the next day. “They were just great.”firstaidmb The emergency-room doctor who treated Linda was surprised at the quality of care she had received, but Troop 9 assistant Scoutmaster Mike Jaklitsch, M.D., wasn’t. A thoracic surgeon with Brigham and Women’s Hospital, Jaklitsch makes sure his Scouts are always ready to use their first-aid skills. As he explained to Scouting magazine, he takes a “use it or lose it” approach to this important badge. Learn and Earn Troop 9’s emphasis on first aid starts almost as soon as Scouts join the troop. Each March, the troop participates in Old Colony Council’s Merit Badge University, a three-weekend event where new Scouts are strongly encouraged to earn the First Aid merit badge. Jaklitsch says the class, which takes a total of six hours, is taught by nurses, doctors and EMTs, and includes plenty of hands-on practice with bandages, CPR mannequins and other training tools. Relearn and Teach But that class is just the beginning. To complete the First Aid merit badge, Scouts must also complete the first-aid requirements for the Tenderfoot, Second Class and First Class ranks. (That’s actually the first requirement, but it doesn’t have to be completed first.) In Troop 9, the teachers for those requirements are older Scouts. “We really emphasize being boy-led, so it is really important that we have first-aid instructors who are 14, 15, 16 years old and not 56-year-old men,” Jaklitsch says. That doesn’t mean just any Scout can teach those skills. Instead, Jaklitsch must certify Scouts who want to be Troop 9 “medics.” In less than three hours, interested Scouts must show him they have mastered the skills and can teach them using Scouting’s EDGE method. “If they go through all that, they get a pin that looks like an ambulance they can wear on their hat,” he says. “It’s this little 49-cent piece of swag, but it’s enough to make them want to do it.” Learn as You Go Finally, the troop views every incident that occurs on an outing as a teachable moment. “We’re a big enough troop that there are always some injuries in the course of a year,” Jaklitsch says. “We use that as an opportunity at dinnertime or the campfire to say, ‘Hey, remember when Bill had the ankle [injury] today? What did we do? What could we have done better?’ ” Discussions like that — and the training that precedes them — help keep skills fresh. “It’s constant repetition,” Jaklitsch says. “I don’t think first aid can really stick if you just do it once a year.”

In Partnership with

View Related Merit Badges

Chat Icon
Scoutly Toggle Size Close Chat
New Digital Resource Guides Available

Digital resource guides for Fingerprinting & Cycling are now available. Check them out today!